Case introduction 1
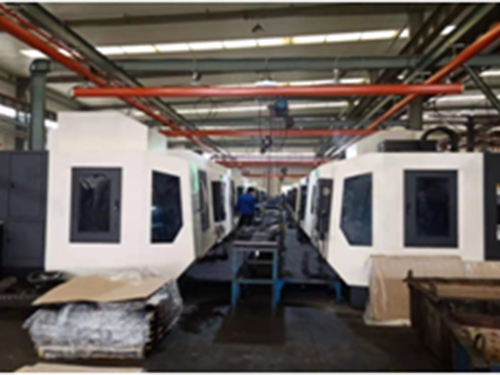
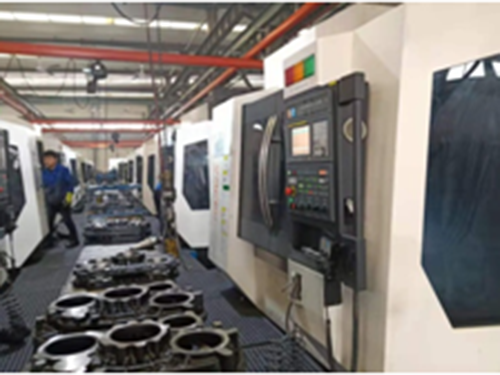
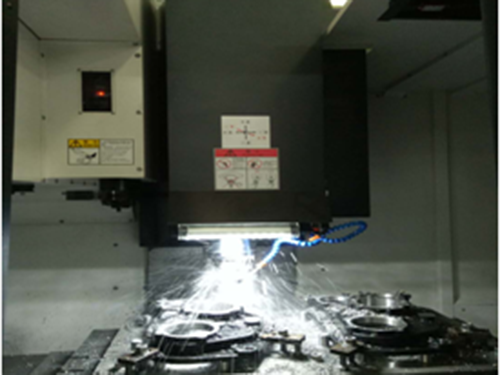
This part is an OEM part of automobile gearbox cover. The flatness of datum plane is 0.02, the coordinates of four-axis hole position are 0.03mm, the middle hole diameter is ¢ 116 + 0 / 0.025, and the periphery is 3 - ¢ 100 + 0.015 / 0.04. It is continuous, mass production and good accuracy retention. At the same time, it puts forward higher requirements for the stability of the machine tool.
Case introduction 2
According to the part structure, accuracy, characteristics and production mode, we analyze the processing technology of aluminum alloy thin-wall die castings:
1. the wall is thin and the blank deformation is large;
2. The relationship between processing parts and non processing parts is close;
3. Due to the small cutting resistance of materials, the rigidity requirements for machining machine tools are not high;
4. The accuracy requirements of parts are not high, requiring high speed and high processing efficiency;
5. There are many types of parts and the replacement is frequent, which is convenient for organizing production;
6. Long time and high-intensity continuous processing, with high requirements for machine tools and cutting tools;

Case introduction 3
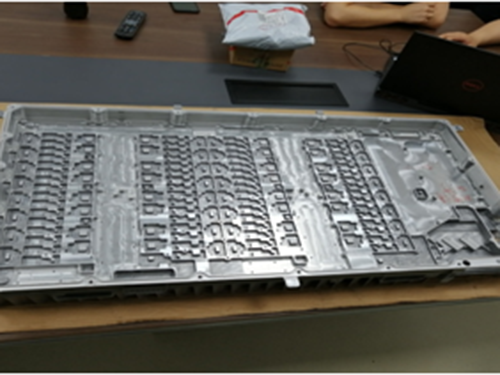
Optimize and communicate with customers on-site for blank, positioning, clamping, processing and inspection.
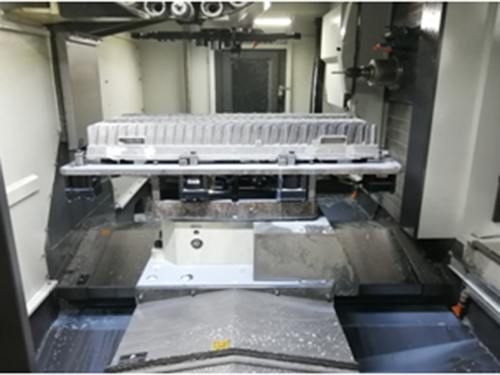
Processing photos of pentahedron machine tool
Case introduction 4
2.1 description of processed parts:
Part name: front suspension left / right upper bracket (5001059 / 60-c6100) part material: gzd410-700:
Hardness: hb160-200;
All parts are processed in pairs, and the details are as follows: 4 machining centers.
Sequence 10: position the blank face in three directions, process face a, change the angle head face milling cutter to mill face B, and change the cutter to drill face a 4- ψ 15 holes, tool change hole chamfering.
Sequence 20: locate the machined surface and hole (two pins - surface), process the two vertical surfaces of the boss, and change the tool to drill 2 holes- φ 15. Tool change milling 15 * 13 waist hole, tool change drilling 2-m14 threaded bottom hole, tool change drilling 2-m8 threaded bottom hole, chamfering of all holes, tool change tapping 2-m14 and 2-m8:
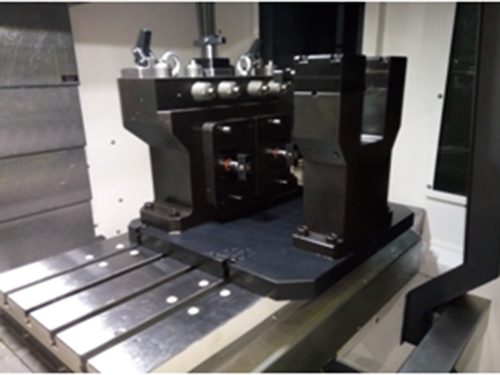
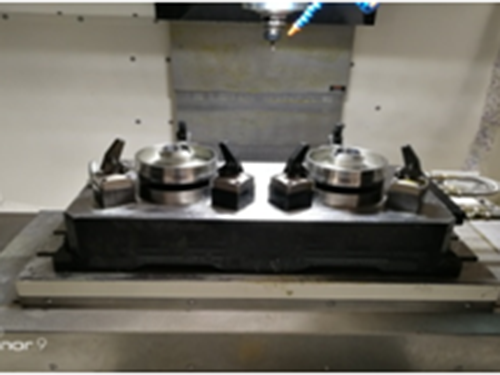
Photo of Op10 clamp of upper support
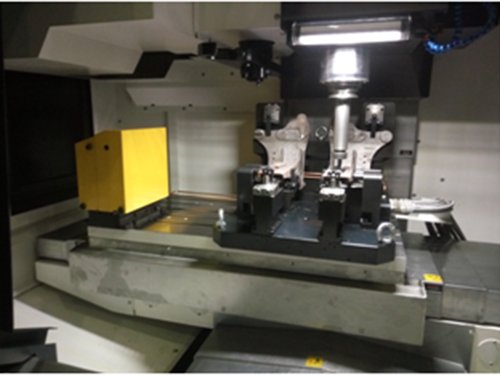
Photo of OP20 clamp of upper support
Case study 5
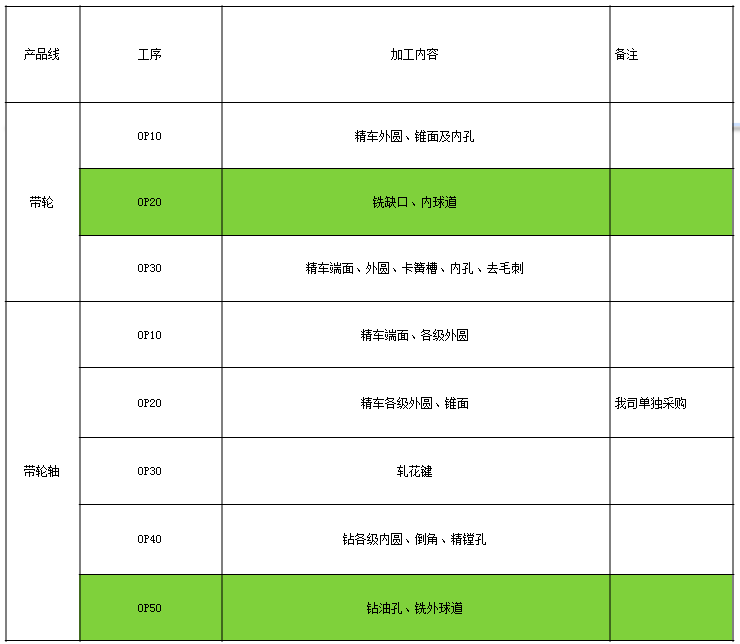
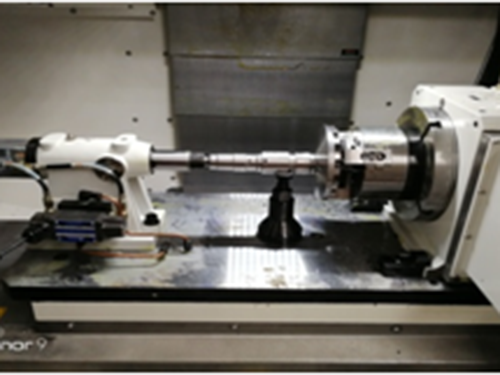
Technical requirements for ctf25 pulley and pulley shaft processing production line:
1. Manual loading and unloading, and automatic interface shall be reserved.
2. Process: see the table below, and other reasonable schemes can also be put forward according to the drawings.
3. Beat: 20jph for the whole line.
4. Flexibility: compatible with driving pulley, driven pulley, and driving / driven pulley and pulley axle of other models.





 Telephone
 Products
 About DEED
 Contact US